If you just got yours, here’s how to use the Instax Mini Liplay step by step to your first shot. Let’s dig right in.
Introduction
The Instax Mini Liplay is one of the best Instax cameras out there but it is also a bit different. It all comes down to the fact that the images are digital images and there’s a few things you need to know to make the most of it. You might want to also check out our Liplay tips.
But before getting in the How to use the Instax Mini Liplay tutorial, make sure to charge it first. Sounds a bit obvious but the Liplay needs a lot of time to charge and a few minutes simply won’t cut it. So make sure it’s charged before fearing that there is a problem. Once that’s done, read on…
How to use the Instax Mini Liplay
Once you turn it on, let’s make do the basic setup by loading in the film first.
How to load Instax Liplay film
Here are the steps to load Instax Mini Liplay film
1. Remove protective bag

The Instax Liplay uses any Instax mini film, no matter the border design or color, so once you have it, rear down the metallic-looking protective sheet. Unlike film, you do not need to be in the dark for this.

However make sure you do not press the cartridges’ front and back in order to prevent ruining your picture. The front is where there is the no-touch symbol and the back is where there are two no-touch symbols. If you press these areas down, light will enter and all of your images will become white.
2. Open film slot

Next, look at the back of the camera where the screen is an pull the “Film” slider. The whole back cover, including the screen will lift.
3. Insert film
Next slide the film in. If you look at the canister there is a yellow marker on the back, slide the film in starting from the opposite side (so the side with no yellow marker) and push in the film until you hear a click. It is crucial to slide the film as described in order not to make the cart stuck. Close the film door.
4. Auto ejection

The first thing the camera does is eject a black piece of plastic. This is normal as this is the piece of plastic that kept the light from entering.
5. Shoot and print
Once the black plastic has been ejected, you are now ready to print! All done.
Basic setup
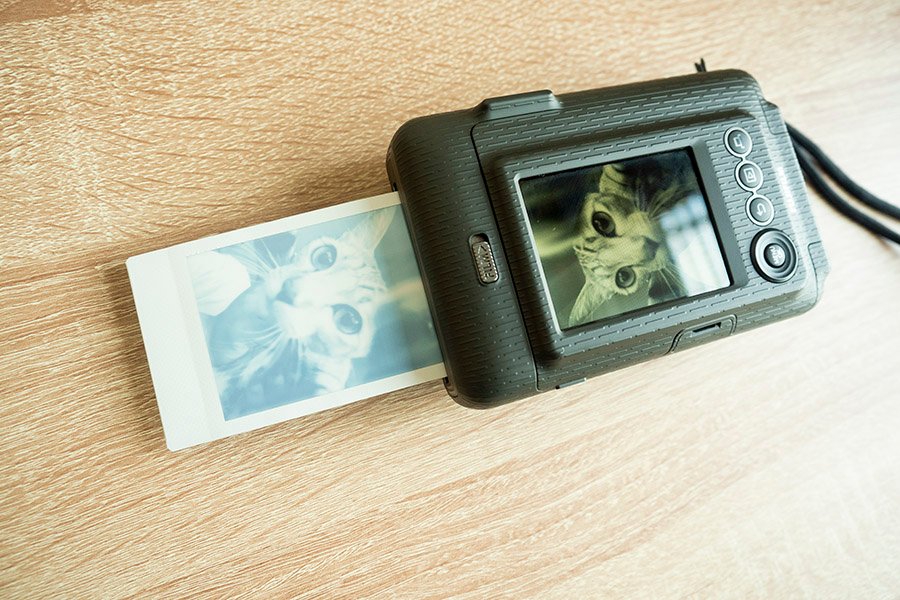
The Liplay is pretty much good to go once you load the film in. A quick note that this, unlike the other analogue Instax cameras will not print automatically, you need to push the print button on the back in order to do so.
This is why this is one of the most economical Instax cameras out there.
Shooting
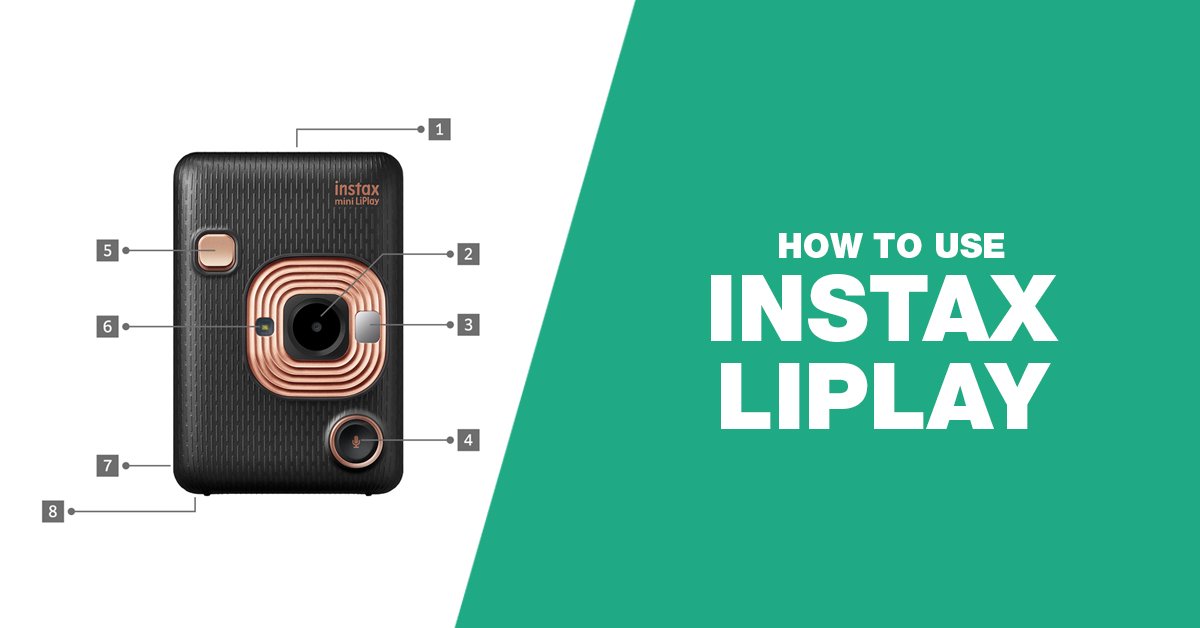
Whereas every camera you’ve had had before had the shutter button on the side, this one has it in the front.
So if you want to take a shot, push the front switch-like button in the front and it will shoot. You might accidently press the top power button once in a while out of habit but you will get used to it.
This placement makes it easy for selfies. If you want to do one, place the camera facing you and look at the little mirror provided around the lens area.
This is more or less the angle of view and since the shutter release button is in the front it’s easy to fire a shot.
Adjusting your pictures

If your images are too bright or too dark, head into the menus and select “Exposure”. This will allow you to darken (Left) or lighten (right) your images up to -2 / +2 exposure value. Take the shot again and remember to bring it back to 0 or your next shot might be off.
Borders
The top 3 buttons on top of the camera are to add borders. You have no control over their appearence unless you connect it to the app first where you can customize them
Printing

There is a dedicated print button on the camera. If you like an image while reviewing on the screen, push that button and out will come a print.
How do you know how many film sheets you have left? When in shooting mode look at the bottom of the screen you will see a display with 10 little dots, the ones that are full are the shots you have remaining.
Filters

While the Liplay can shoot with filters, it’s better not to use them if you want creativity. This is because whatever you shoot with the filter on, is what you are stuck with. So a black and white picture is what you will always have if you shot it with BW on.
If you shoot without filters however, you can always push the image to your phone, edit it there (where you have tons of options) and then print it. This way you always have your straight color image that you can always edit differently later.
Conclusion
I hope you enjoyed this article about How to use the Instax Mini Liplay. Just load the film, point to shoot, push to print. Exposure compensation can help you have some control over the image and that’s pretty much it, everything is straightforward. Have fun!
